¶ Joining the Orchestra constellation
¶ A. Prepping your appliance to join the constellation
- Down any running appliance instance on your machine with:
docker compose --profile="*" down
- After your appliance is stopped, make sure to also delete all volumes associated with your appliance.
Note: You can also use docker desktop to clear out these volumes.
You can list these with:
docker volume ls
Your appliance-related volumes should be named:
*_Backup*_Certificates*_Data*_Local*_VOL_Signal*_WSS
Delete these (Probably besides the one related to Certificates) with:
docker volume rm $(volume_name)
Note: In case of any mount errors deleting this, you can stop any other running containers on your system, restart your docker setup, and attempt to delete the volume.
- You should update your appliance to make sure it includes the version with ORP. This should come with the default
24-02branch
-
Clone the appliance repository to a new location:
Appliance Repository -
Clone with SSH:
git clone git@gitlab.com:ledr/core/dev-platform/appliance.git
- Clone with HTTPS:
git clone https://gitlab.com/ledr/core/dev-platform/appliance.git
For demo purposes, you can create a separate folder from your previous appliance and clone the constellation version of the appliance there, to revert to your previous appliance at will.
- Locate the variable called
LOCAL_ORIGINin your. env and ensure this is set to. /Local. In case there are hardocded instances of this variables in your appliance files, ensureLocalis changed to./Local
This will enable you to get access to the .txt configuration files that need to be modified to start up your appliance in constellation mode.
¶ B. Joining the constellation
- To ensure HGTP tunnelling will work in the subsequent steps. Ensure your host, or the host of any knowledge space you’ll want to browse, can allow traffic through Avesterra ports
20057and20058.
That is, allow port 20057-20058 on the firewall.
-
For Windows: Open ports in Windows Firewall
-
For Ubuntu: Ubuntu Firewall Guide
-
For MacOS: How to open specific ports on macOS
¶ JOINING WITH AUTO-CONSTELLATION
Auto-constellation ensures that you can connect your appliance to the constellation with minimal setup steps during initial startup.
This entails only updating your ./Local/configuration.txt and .env files with variables that should be provided by your network administrator.
Note: This only works when these files are set up before the first time you start up your appliance. If you have already started your appliance without these files, refer to Part A: Prepping Your Appliance. This is because the variables and .txt files ensure that we can recreate your local entities with the required host and network IDs.
Note: Previously, the below steps were also required regardless of whether you were to joining the constellation manually WITH AVU or WITH MAESTRO. However, due to the auto constellation, you don't need to do any further setup on Avu or Maestro. You can therefore jump straight to C. Making Use of ORP after your appliance starts.
- In your Local folder, locate a file called configure.txt and replace its contents with the text below – These will be handed to you by your network administrator:
root
authority <0> {auth}
root
routing "LOGICAL" local_appliance_id gateway_id
echo Server ready!
Where auth, local_appliance_id and gateway_id will be assigned to you by your network administrator.
For example:
root
authority <0> {5a5d61ce-e44c-4ecb-b9e6-5d57f2220977}
root
routing "LOGICAL" <1000|5002|0> <1000|1000|0>
echo Server ready!
-
Your network administrator will also hand your contents to key variables in your .env file, which you can paste in your exsting .env file. This should supplement your already exisiting .env variables. Any authorization tokens in your previous .env should match your root authority, that is 5a....77 for example.
-
Start your appliance for the new configuration to take effect.
docker compose --profile="*" up -d
Note: Joining with auto-constellation - which is the default mode when an appliance is initialized - automatically tunnels you to your gateway server. Therefore, you do not have to join with Avu or Maestro.
¶ JOINING WITH AVU
- Set the host address of the gateway of the network that you are about to join. This will be similar to
gateway_idthat was provided to you by your network administrator.
To join the development-gateway (dev-gw.ledr.io), the command is:
> host "64901798" <0|1000|0> TRUE
- Ensure the gateway is reachable.
In Avu this is:
> <network_id | gateway_id | 0>
For the dev-gateway this is:
> <1000|1000|0>
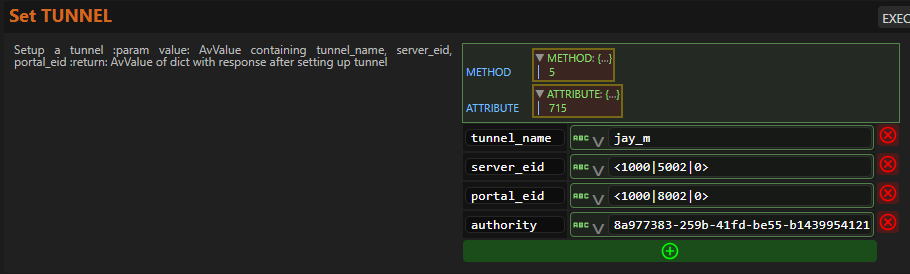
- Create a tunnel from your local host to the gateway (development gateway in this case):
In Avu this is:
> tunnel gateway_id “portal_name” local_appliance_id {portal_authorization}
For the dev-gateway, this will look like:
> tunnel <1000|1000|0> "jayson_mulwa" <1000|5002|0> {8a977383-259b-41fd-be55-b14399541217}
- Recheck the gateway is reachable (with HGTP tunnelling now in place):
In avu this is:
> <network_id | gateway_id | 0>
For the dev-gateway this is:
> <1000|1000|0>
¶ JOINING WITH MAESTRO
-
Maestro usually runs on port 80 on your machine. Therefore, open your browser and navigate to http://localhost:80 to access your local Maestro instance.
-
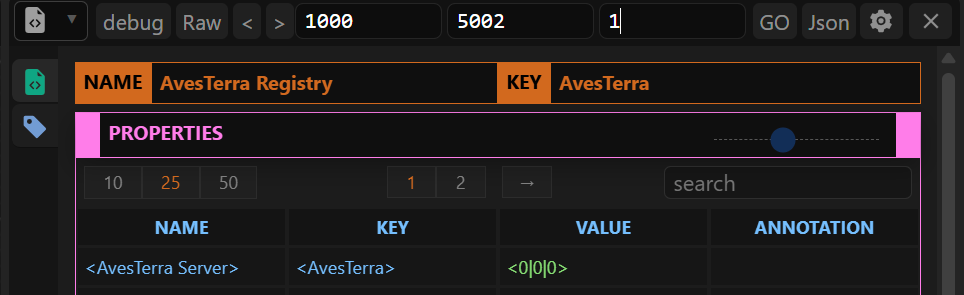
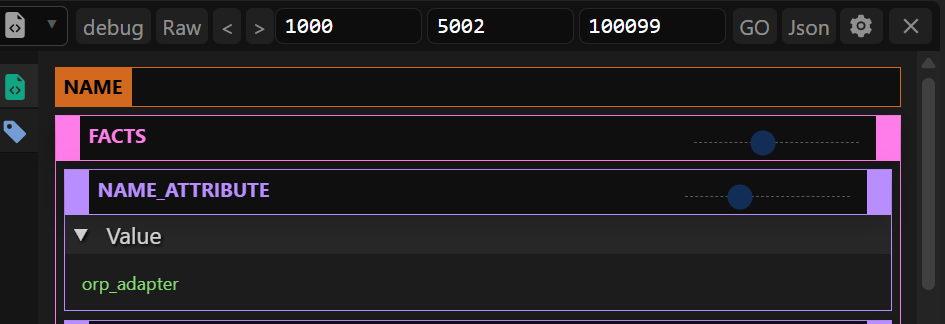
Here you can locate your ORP adapter instance
- Navigate to the mount adapter
<0|0|4200> - Navigate to the
OUTLET_ATTRIBUTE
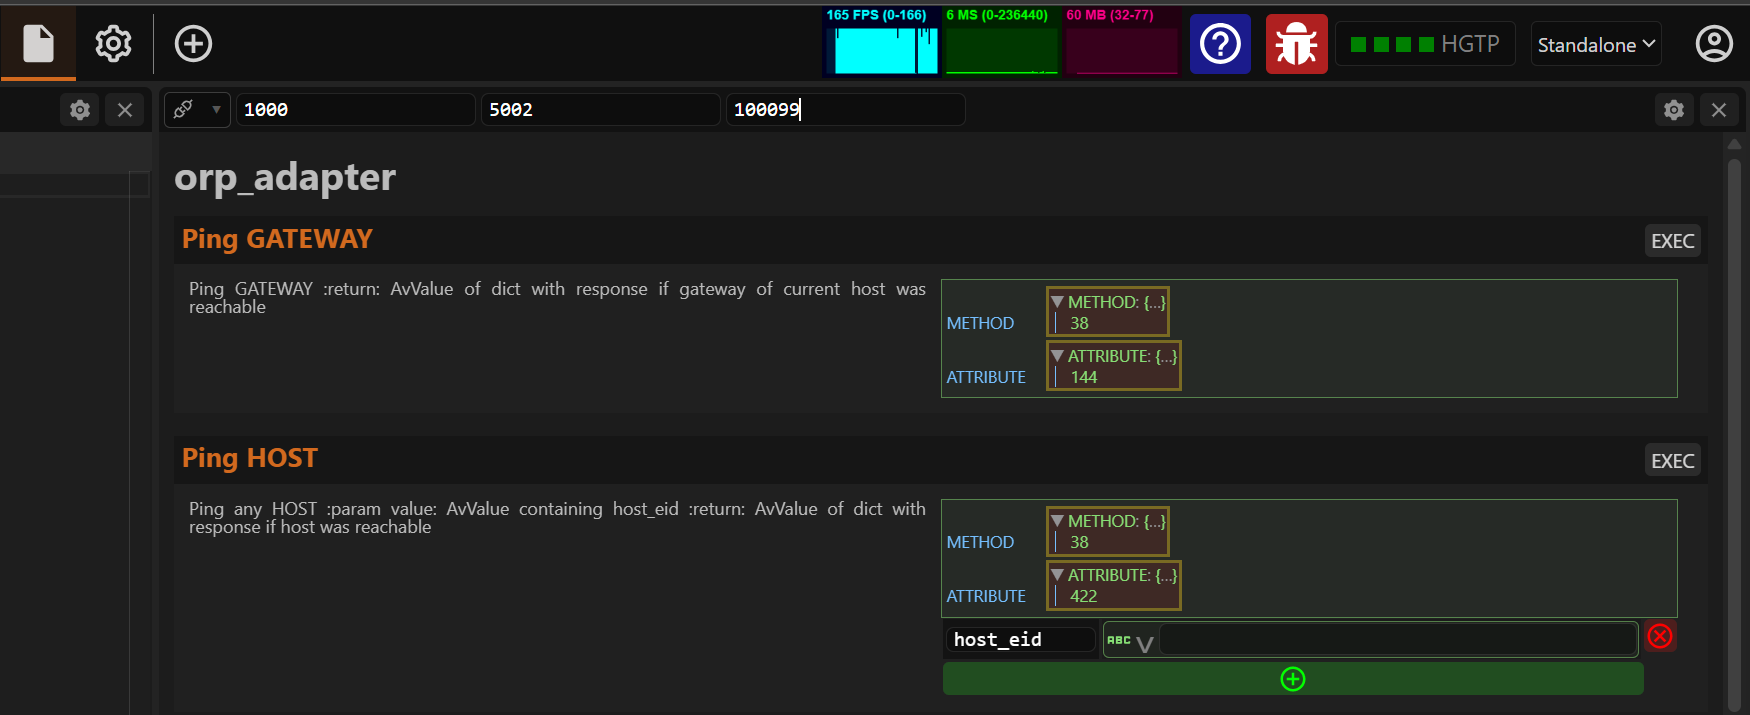
The ORP adapter should be listed here. Select it and take note of the entity id (e.g., <1000|5002|100099>).
- Locate the interfacer instrument on Maestro.
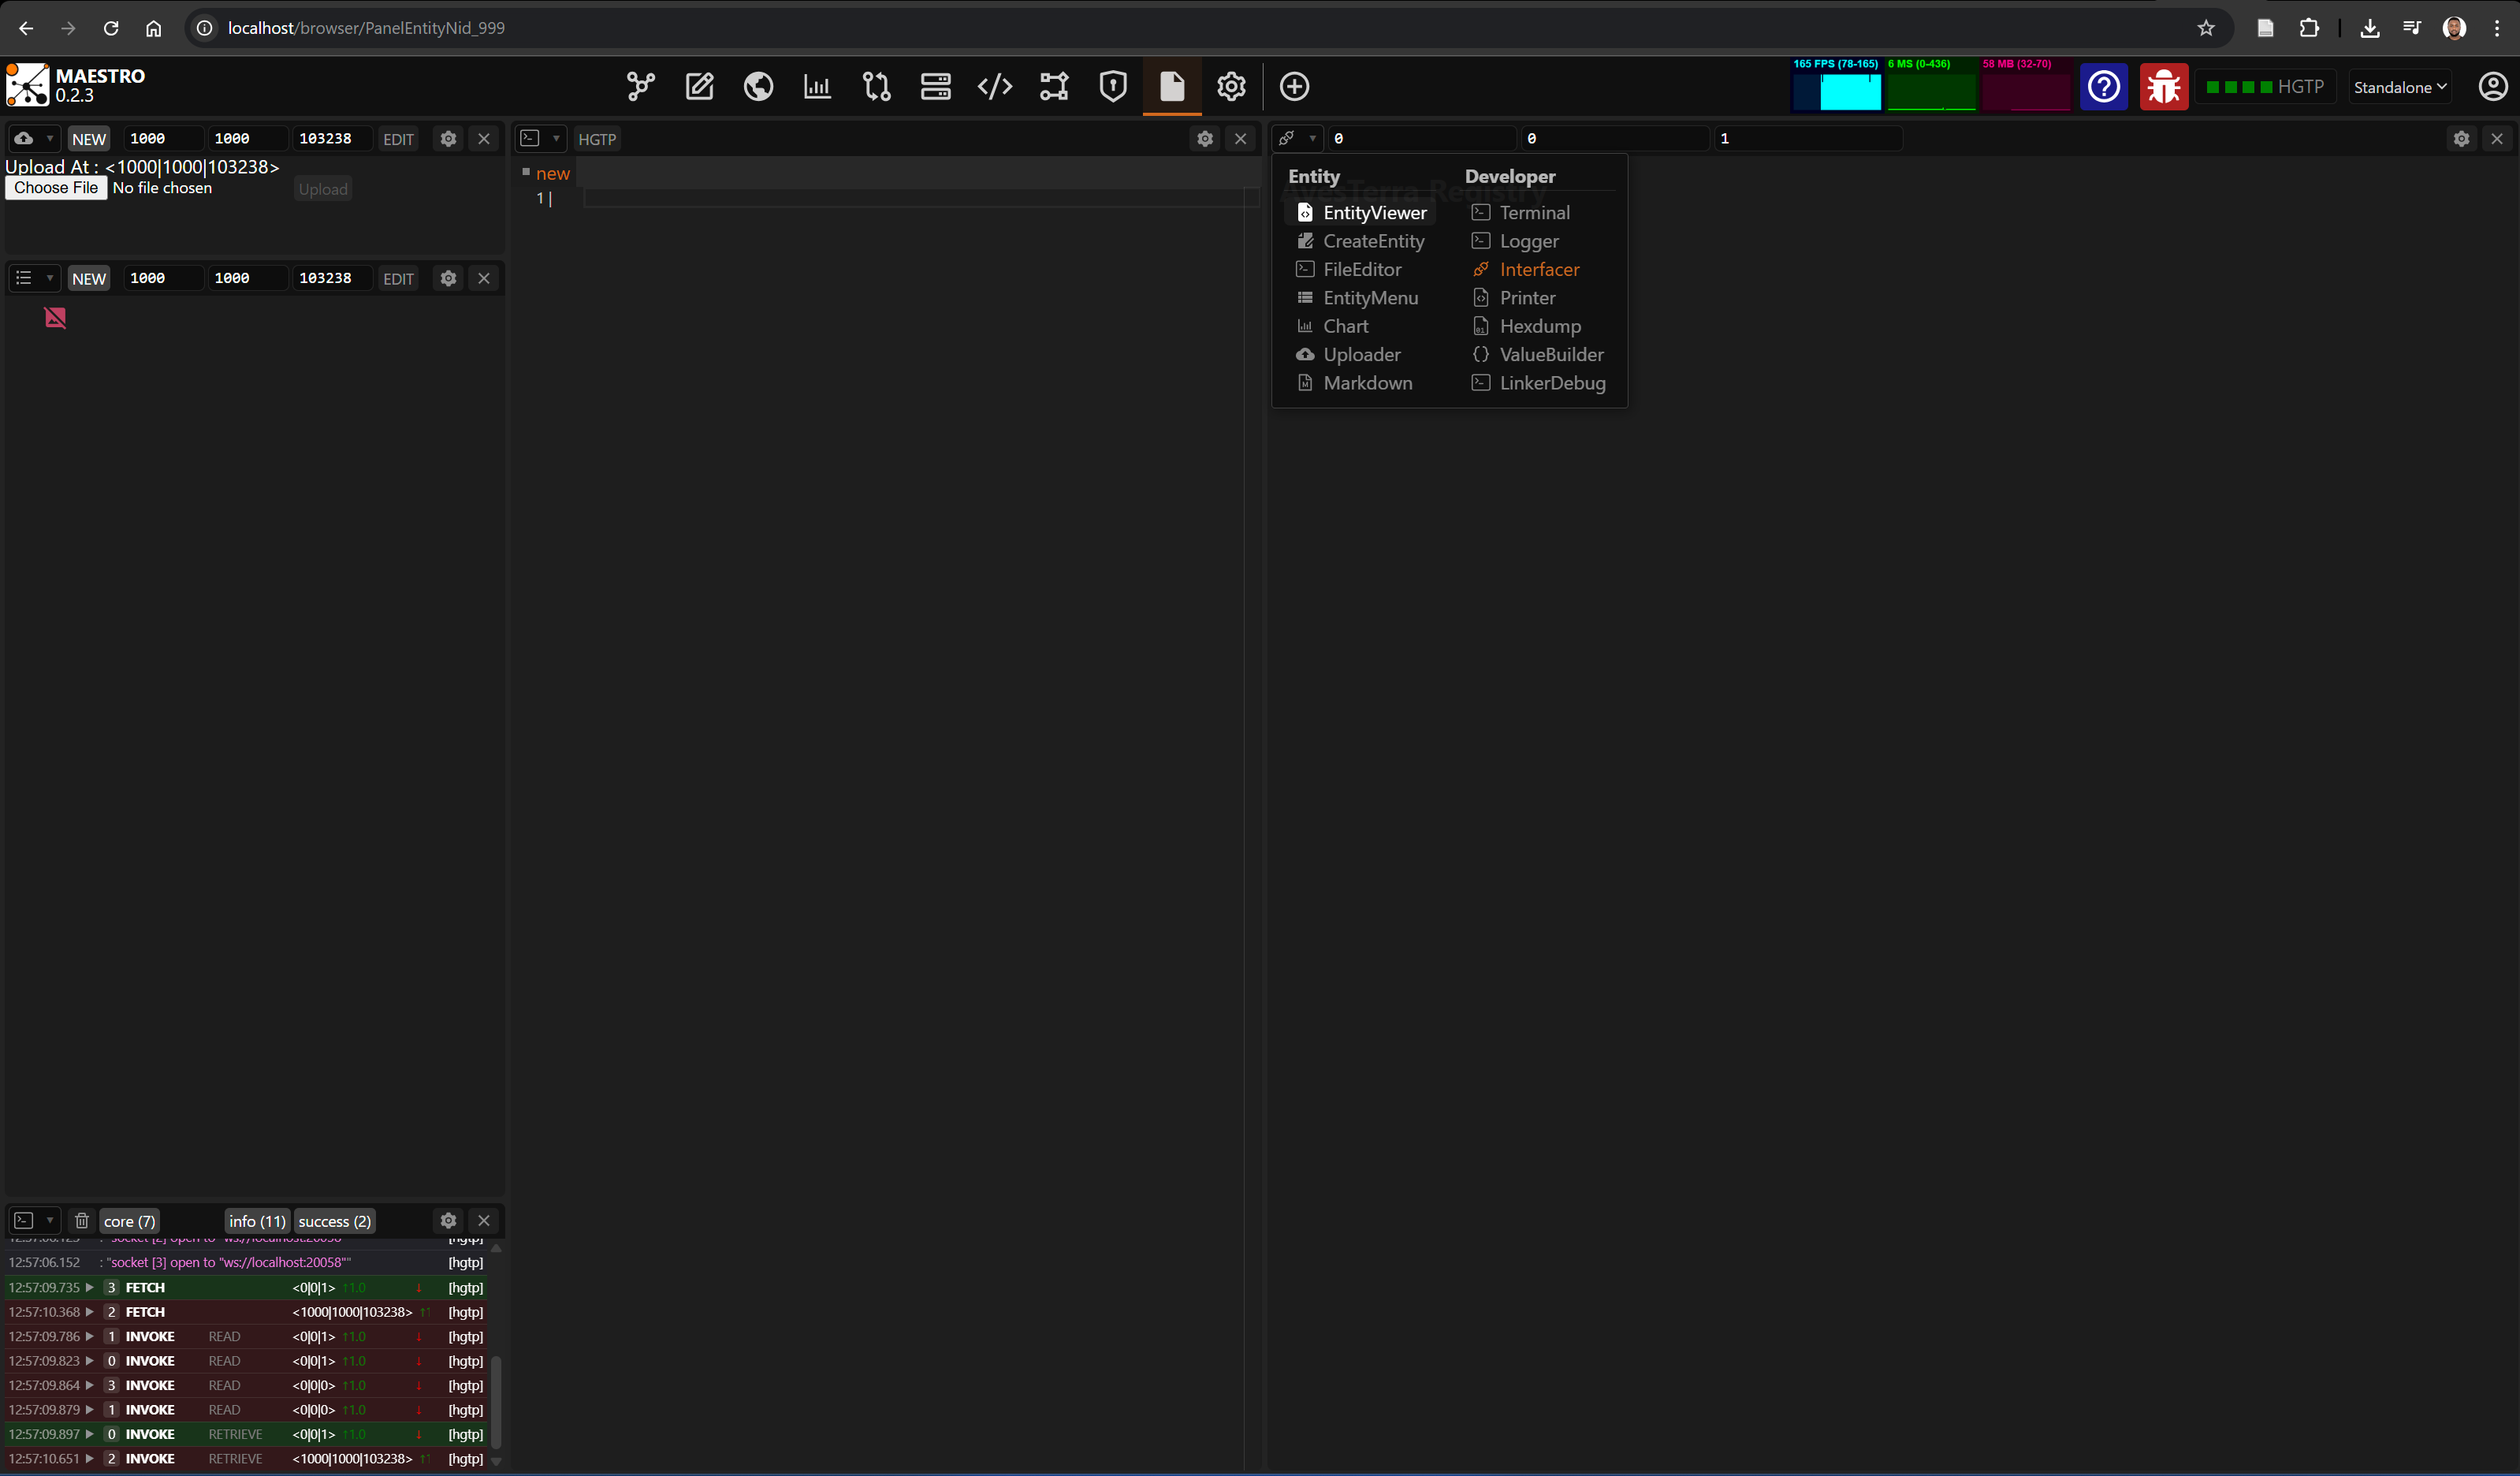
Type in the entity id of the ORP adapter to be able to make use of ORP to join the constellation
-
In your Interfacer instrument, add the host address of the gateway your are trying to connect to, this will be under the Add Host Section. Add the Host Id and Address values similar to with the Avu Method and click on
EXEC. -
Ping your Gateway to ensure you have access to the gateway you are attempting to connect to.
This is through the EXEC button beside the Ping GATEWAY section.

- Create a tunnel from your local host to the gateway (development gateway in this case).
- Recheck the gateway is reachable (with HGTP tunnelling now in place).
¶ C. Making use of ORP
- Locate the interfacer instrument on Maestro.
- Type in the entity id of the ORP adapter to be able to make use of ORP to join the constellation
- Ping the ORP Application running on the gateway to ensure it is up and ready to receive commands.

Once, this returns true, it means that the ORP application on the remote master server (gateway) is up. We can join the ORP and sync our routing tables data with the master (where the master has also synced up with other slave hosts).
- You can get all frames from the master in one go on your maestro interface with:
From the tunnels frame, for example, you can see which tunnels exist on which hosts . This enables you to confirm that another host has a link to the master, and therefore you can browse its knowledge space.
Your ORP frames are built from the syncing that occurs between your appliance host, the master hosts, and other hosts. Incase any record is added or modified in any ORP instance, all connectected ORP nodes will eventually be consistent with each other.
- You can browse another host's knowledge space by:
i. Ensuring you have gone through the steps above to set up your tunnel to the master node (gateway).
ii. Adding the host id of the node whose knowledge space we want to browse to your appliance via ORP - That is if the host id doesn't already exist.
Note: You don't have to know the exact public IP address of the node whose knowledge space you want to browse - as long as it is tunnelled to the gateway. You can simply add this host with the same public IP as the master node (gateway) to your local appliance; or check that it has already been added by ORP syncing.
That is, if you added the master node (gateway) with:
> host "64901798" <0|1000|0> TRUE
You can add another host (slave) as:
> host "64901798" <0|1004|0> TRUE
The gateway will route traffic to it as long as it is also connected to the gateway via a tunnel.
The above can be done in AVU, or as in the section below in Maestro.
iii. Ping the host whose knowledge space you want to browse.
iv. In the Maestro's explorer, access its entities: